
How to Trim Cat Nails Safely: Complete Guide
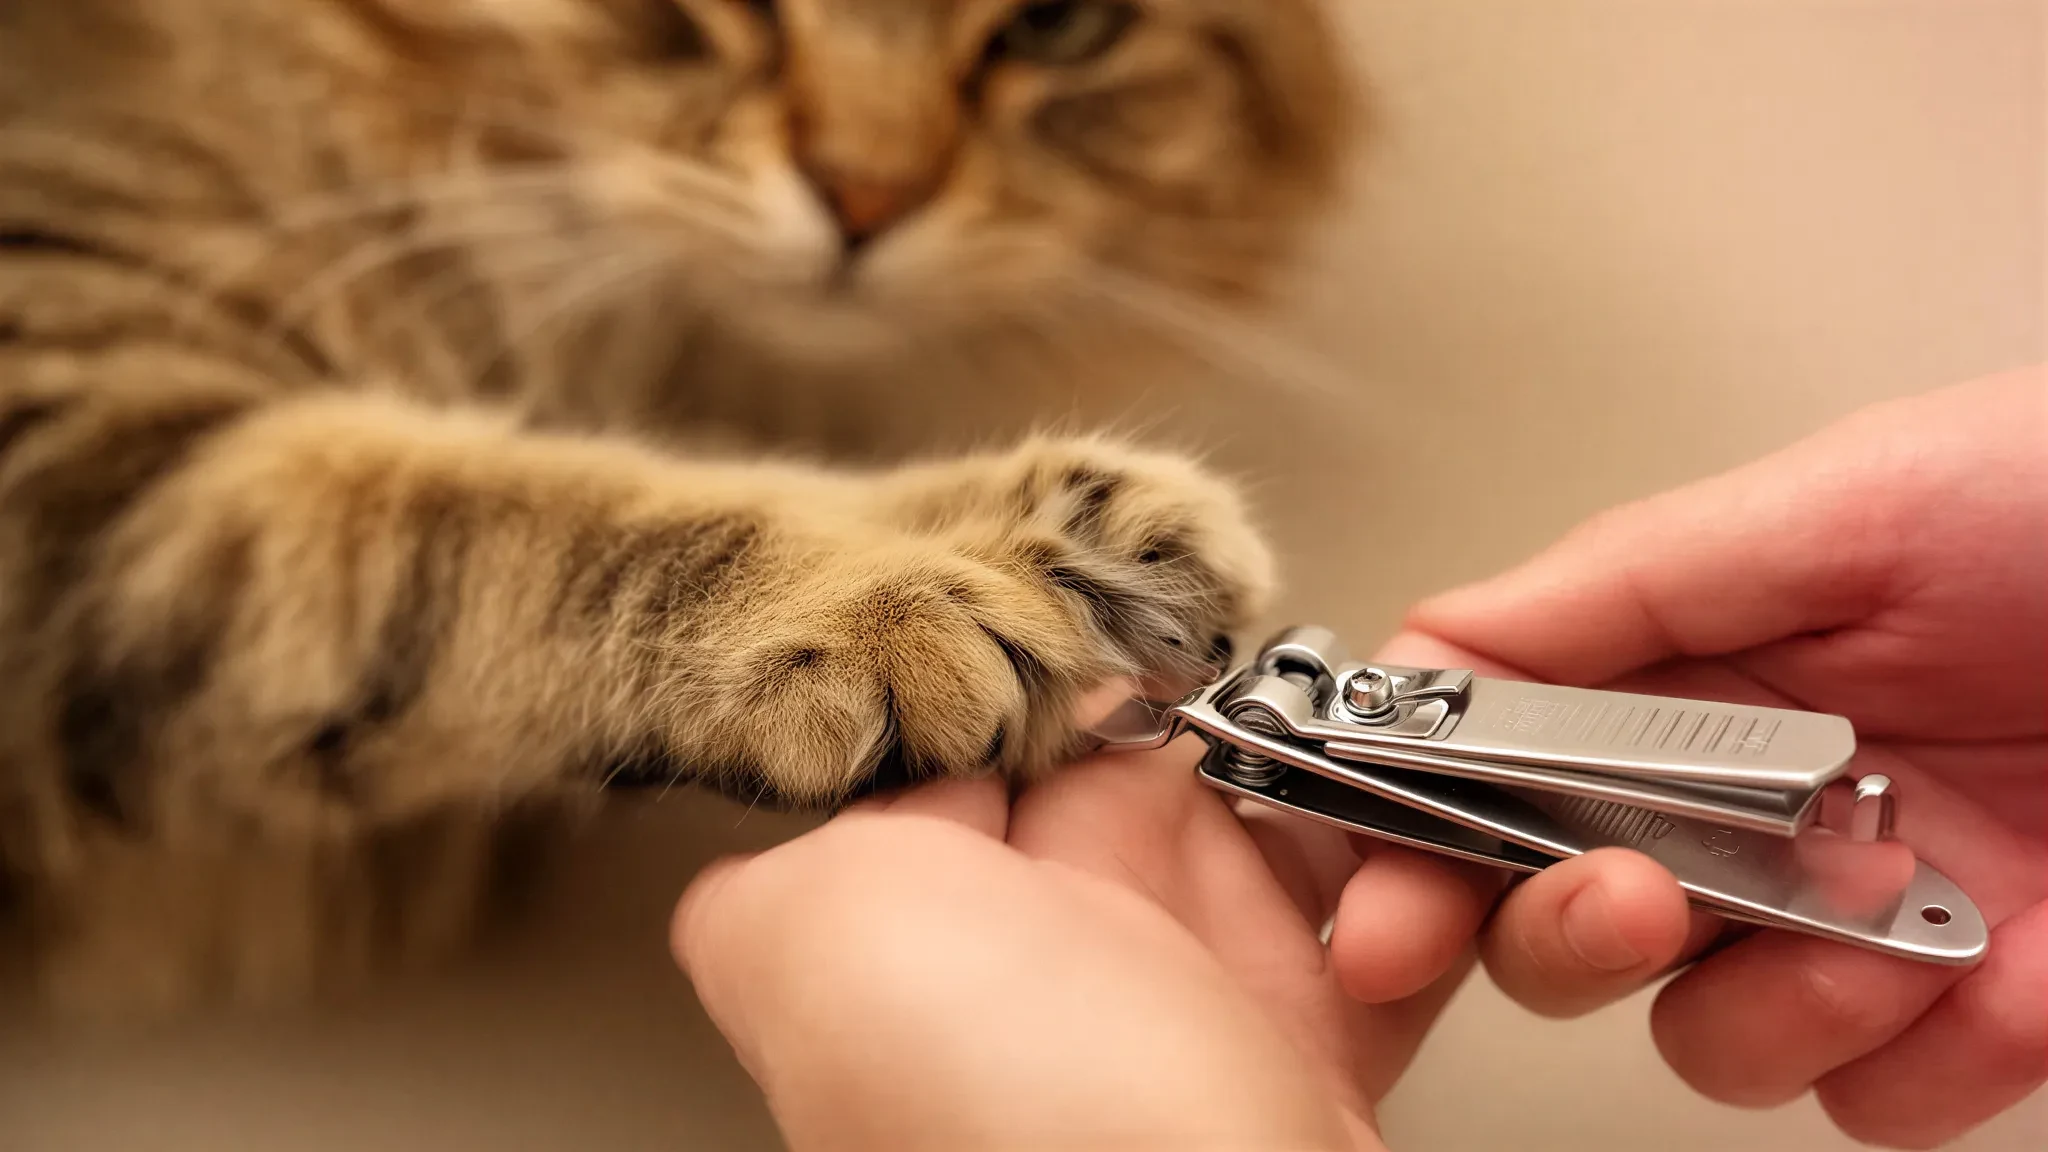
Trimming your cat’s nails doesn’t have to be a battle. With the right tools, proper technique, and patience, you can safely trim your cat’s nails at home. Regular nail trimming prevents overgrown nails that can curl into paw pads, reduces furniture damage from scratching, and makes vet visits less stressful. This step-by-step guide covers everything you need to know about trimming cat nails: when to trim, what tools to use, proper technique, and what to do if you accidentally cut too short.
Why Trim Your Cat’s Nails
Cat nails grow continuously and need regular maintenance. Overgrown nails can curl and grow into paw pads, causing pain, infection, and difficulty walking. This condition is especially common in senior cats who don’t scratch enough to naturally wear down nails.
Trimmed nails cause less damage when cats scratch furniture. While scratching is natural behavior that shouldn’t be discouraged, trimmed nails minimize household damage. This makes coexistence easier for both you and your cat.
Regular nail trimming gets cats accustomed to paw handling. This makes vet visits less stressful because cats are used to having their paws examined. It also makes grooming sessions easier overall.
Indoor cats especially benefit from nail trimming. Outdoor cats naturally wear down nails through climbing and hunting. Indoor cats don’t have the same opportunities for natural nail wear.
When to Trim
Most cats need nail trimming every 2-3 weeks. This keeps nails at appropriate length without becoming overgrown. Some cats need more frequent trimming while others can go longer between trims.
Watch for signs that nails need trimming. Nails that click on hard floors are too long. Nails that catch on fabric or carpet need trimming. Visible curved hooks at nail tips indicate it’s time.
Kittens can start nail trimming as early as 8 weeks. Early introduction makes lifelong nail care easier. Start with brief sessions and gradually increase as kittens become accustomed.
Senior cats may need more frequent trimming. Older cats may not scratch enough to naturally wear down nails. Their nails can become thick and overgrown without regular attention.
Essential Tools
Cat Nail Clippers
Cat-specific nail clippers are essential. Human nail clippers can split cat nails because they’re designed for flat nails, not curved cat nails. Cat clippers are designed for the curved shape of cat nails.
Scissor-style clippers work well for most cats. They provide good visibility and control. Choose clippers with safety stops that prevent cutting too much.
Guillotine-style clippers also work for cat nails. These have a hole where you insert the nail. They work well for small nails but may be difficult for thick senior cat nails.
Nail grinders are alternatives to clippers. These electric files smooth nails rather than cutting them. They’re quieter and less likely to cause injury. Some cats tolerate grinders better than clippers.
Additional Supplies
Styptic powder stops bleeding if you accidentally cut the quick. This is essential to have on hand before starting. Apply styptic powder with gentle pressure to stop bleeding quickly.
Treats reward your cat during and after trimming. High-value treats create positive associations with nail trimming. Use special treats your cat only gets during nail trimming.
Towels help restrain cats who resist trimming. Wrapping your cat snugly in a towel exposes one paw at a time. This prevents scratching and makes trimming safer.
Good lighting helps you see the quick clearly. Trim in a well-lit area or use a headlamp for better visibility. Seeing the quick prevents accidental cutting.
Preparation
Getting Your Cat Ready
Get your cat comfortable with having their paws handled before attempting nail trimming. Gently touch and manipulate paws during calm moments. Reward with treats and praise. This desensitization may take days to weeks depending on your cat.
Practice extending and retracting nails during handling sessions. Gently press the top and bottom of each toe to extend the nail. Reward your cat for tolerating this. This prepares them for actual trimming.
Choose a calm time for nail trimming. Don’t attempt trimming when your cat is energetic or stressed. After play sessions or during sleepy times works well.
Create a comfortable trimming environment. Sit in a quiet area with good lighting. Have all supplies within reach before starting. Minimize distractions that might stress your cat.
Positioning Your Cat
Sitting position works well for most cats. Sit on the floor or a low chair with your cat in your lap. Face your cat away from you so you can see the nails clearly.
Lying position works for some cats. Lay your cat on their side on a table or your lap. This exposes all four paws easily. Some cats feel more secure lying down.
Two-person trimming makes difficult cats easier. One person holds and comforts the cat while the other trims. This works well for cats who resist strongly.
Towel wrapping helps restrain resistant cats. Wrap your cat snugly in a towel, exposing one paw at a time. This prevents scratching and makes trimming safer. Never wrap so tightly that your cat can’t breathe comfortably.
Step-by-Step Trimming Technique
Step 1: Extend the Nail
Gently press the top and bottom of each toe to extend the nail. The nail should slide out of its sheath. Be gentle because pressing too hard can hurt your cat.
Identify the quick — the pink area inside the nail that contains blood vessels and nerves. This is visible in light-colored nails. Dark nails make the quick harder to see. In dark nails, trim only the very tip to be safe.
Get your cat comfortable with nail extension before cutting. Practice extending nails without cutting for several sessions. Reward your cat for tolerating this.
Step 2: Position the Clippers
Hold the clippers perpendicular to the nail, not at an angle. This prevents splitting the nail. Position the clippers just beyond the quick, leaving a small margin of safety.
For scissor-style clippers, place the nail between the blades. Squeeze gently to test position before cutting. Make sure you’re not too close to the quick.
For guillotine-style clippers, insert the nail through the hole. Position so you’ll cut only the clear hook beyond the quick. Squeeze the handle to cut.
Step 3: Make the Cut
Cut quickly and confidently. Hesitating can cause the nail to split or your cat to pull away. One smooth cut is better than multiple attempts.
Cut only the clear hook at the nail tip. Leave the pink quick untouched. If you’re unsure where the quick is, cut less rather than more.
Check the cut nail for any sharp edges. Smooth rough edges with a nail file if needed. This prevents snagging on fabric.
Step 4: Reward and Repeat
Reward your cat immediately after each nail. Treats and praise create positive associations. Don’t wait until all nails are done to reward.
Take breaks as needed. If your cat becomes stressed, stop and try again later. Forcing trimming creates negative associations.
Start with one or two nails per session. Gradually increase as your cat becomes accustomed. Some cats tolerate only one paw per session initially.
What to Do If You Cut the Quick
Immediate Care
If you accidentally cut the quick, don’t panic. Bleeding looks worse than it is. Apply styptic powder with gentle pressure for 30-60 seconds. This stops bleeding quickly.
If you don’t have styptic powder, use cornstarch or flour as a substitute. These work less effectively but can stop minor bleeding. Press into the nail until bleeding stops.
Comfort your cat after cutting the quick. It stings briefly but the pain passes quickly. Offer treats and gentle petting to reassure your cat.
Aftercare
Monitor the nail for signs of infection over the next few days. Redness, swelling, or discharge indicate problems. Contact your vet if you notice these signs.
Your cat may be reluctant to use that paw briefly. This is normal and resolves quickly. Encourage normal activity with treats and play.
Wait a few days before trimming that nail again. The quick will recede as the nail grows. You can trim a bit more at the next session.
Troubleshooting Common Problems
Resistant Cats
Cats who resist nail trimming may need gradual desensitization. Start with brief handling sessions without cutting. Gradually introduce clippers. Progress to touching clippers to nails. Finally, trim one nail per session.
Nail grinders may work better for resistant cats. The grinding sensation is different from cutting. Some cats tolerate grinders better than clippers.
Professional help is available for cats who absolutely won’t tolerate home trimming. Veterinary technicians can trim nails quickly and safely. Some groomers also offer nail trimming services.
Thick or Overgrown Nails
Thick senior cat nails may need special clippers. Large cat clippers or small dog clippers work better for thick nails. Don’t use human clippers on thick nails because they can split.
Severely overgrown nails may need veterinary attention. Nails that have curled into paw pads require professional removal. Don’t attempt to remove embedded nails at home.
Regular trimming prevents overgrowth. Once nails are at appropriate length, maintain with regular trimming every 2-3 weeks.
Dark Nails
Dark nails make the quick harder to see. Trim only the very tip to be safe. Cut small amounts frequently rather than large amounts infrequently.
Use bright lighting to see dark nails better. Headlamps provide hands-free illumination. Angle light to see the nail structure more clearly.
Watch for the pulp — the soft tissue inside the nail. As you trim, you’ll see the center of the nail change from white to gray to pink. Stop when you see gray because you’re approaching the quick.
Frequently Asked Questions
How often should I trim my cat’s nails?
Most cats need trimming every 2-3 weeks. Some need more frequent trimming while others can go longer. Watch for clicking on floors or catching on fabric as signs nails need trimming.
Can I use human nail clippers on my cat?
No. Human clippers can split cat nails because they’re designed for flat nails. Use cat-specific clippers designed for curved cat nails.
What if my cat won’t let me trim their nails?
Start with gradual desensitization. Handle paws without cutting. Introduce clippers slowly. Consider nail grinders as alternatives. Professional help is available for resistant cats.
How do I know if I cut the quick?
The quick is pink and contains blood vessels. Cutting it causes bleeding and brief pain. If you see pink in the nail center, you’re too close. Stop cutting.
Does declawing eliminate the need for trimming?
Declawing is amputation and causes lifelong problems. It’s banned in many countries. Regular trimming is the humane alternative to declawing.
Can I trim my kitten’s nails?
Yes. Start as early as 8 weeks with brief sessions. Early introduction makes lifelong nail care easier. Use small clippers designed for kittens.
How much should I trim off each nail?
Cut only the clear hook at the nail tip. Leave the pink quick untouched. When in doubt, cut less rather than more. Frequent small trims are better than infrequent large trims.
Want more cat care guidance? Read our Cat Grooming 101 for complete grooming guidance or explore How to Stop Cat Scratching Furniture for scratching solutions.